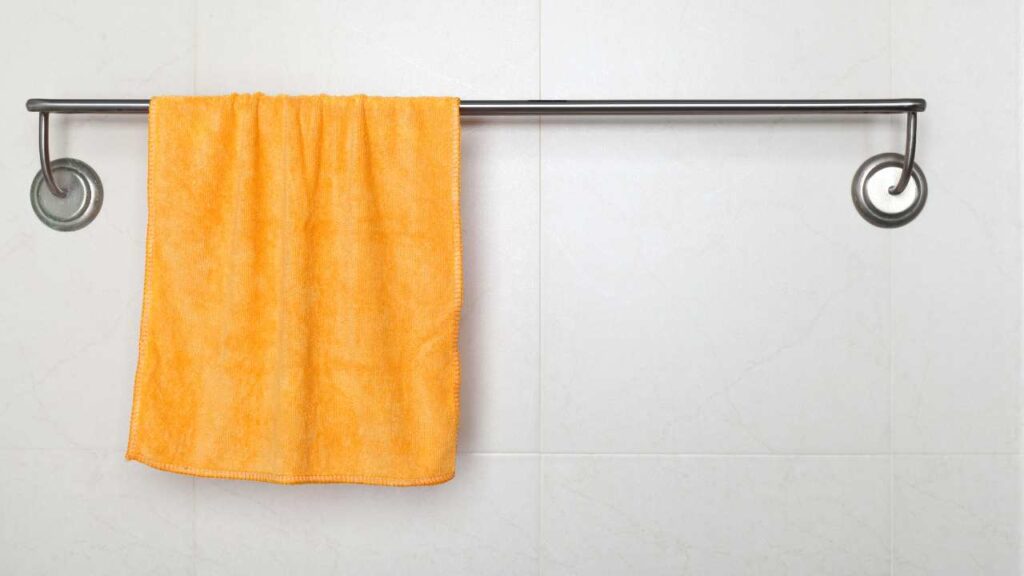
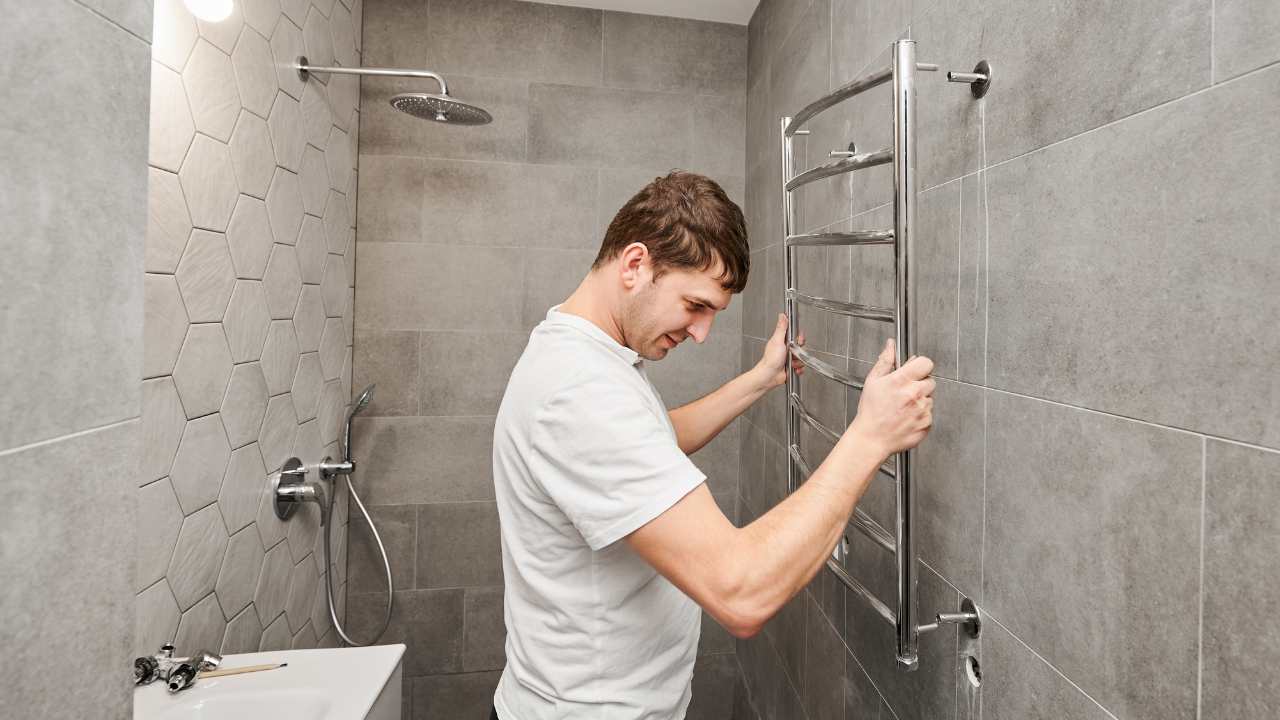
How Do You Remove Towel Racks from the Wall?
To remove towel racks from the wall, first loosen the set screws underneath the brackets. Then, slide the rack off the mounting brackets.
Removing towel racks is a straightforward task that can freshen up your bathroom space or make way for new accessories.
Whether you’re renovating or simply updating fixtures, taking down an old towel rack requires minimal tools and effort.
Towel racks are typically mounted on the wall with brackets secured by screws or adhesive.
Homeowners looking to undertake this simple DIY project should gather basic tools like a screwdriver or an Allen wrench.
Ensure safety by carefully handling tools and wearing protective gear if necessary.
Follow manufacturer’s instructions for specific removal steps tailored to your towel rack model, and streamline the look of your bathroom with ease.
Introduction To Towel Rack Removal

Time to say goodbye to your old towel rack?
Whether it’s for a renovation or simply an update, removing a towel rack is a process that you can handle on your own.
Embarking on the journey of towel rack removal might seem daunting at first, but with a clear guide and the right tools, it’s a job that can be tackled with confidence.
Let’s roll up our sleeves and get started!
Initial Preparations For The Task
Before diving in, preparation is key.
A smooth process starts with ensuring you have everything you need within reach.
Clear the area and protect your space to avoid any accidental damage.
Here’s how to prep:
- Empty the rack: Remove all towels and items.
- Clean around: Wipe down the wall and rack.
- Protect the floor: Lay down a cloth or towel.
- Check for obstacles: Move away any obstructions.
Tools Required For Removing A Towel Rack
Gathering the right tools beforehand will make the process smoother. You won’t need an entire toolbox, just a few essentials.

Equip yourself with the following:
| Tool | Use |
|---|---|
| Screwdriver | To remove screws |
| Allen wrench or hex key | For set-screw style racks |
| Pliers | For gripping |
| Utility knife | To cut any caulk |
| Putty knife | To pry the rack gently off the wall |
| Wall filler | For patching any holes left behind |
Identifying Towel Rack Types
Before attempting to remove a towel rack from the wall, it’s essential to identify the mounting system used.
This step prevents damage to your wall and ensures a smooth removal process.
Generally, towel racks employ either a set screw mounting system or spring-loaded brackets and clips.
Recognizing the type of attachment will guide you through the correct removal method.
Set Screw Mounting System
Towel racks with a set screw mounting system have small screws that hold the rack in place.
These are often hidden beneath the rack or at the base where it meets the wall.
Look for a tiny opening along the side of the rack’s mounting bracket. Inside, you’ll find the set screw that needs loosening.
Use a flathead or Allen wrench, depending on the screw type.
Here’s how to identify them:
- Check under the brackets: Small openings indicate the presence of set screws.
- Prepare the correct tool: Flathead screwdrivers or Allen wrenches are usually needed.
- Loosen gently: Apply pressure carefully to prevent stripping the screw.
Spring-loaded Brackets And Clips
Spring-loaded mechanisms offer a tool-free removal option.
The clips latch onto the brackets attached to the wall, and springs within them hold the rack snugly in place.

To remove, simply push the rack upward to compress the spring and tilt the bottom away from the wall.
Here’s a brief guide to recognize spring-loaded brackets:
- Push and lift: Apply upward pressure to release the rack from the clips.
- No tools required: The spring mechanism allows for easy removal.
- Visual inspection: Check for absence of visible screws, indicating a spring-loaded system.
Step-by-step Removal Process
Removing towel racks from the wall need not be daunting.
Start by identifying the mounting mechanism, typically involving screws or brackets.
Use appropriate tools to gently loosen and detach the racks, ensuring the wall is not damaged during the process.
Loosening The Set Screws
The first step to removing a towel rack is to find the set screws.
These small screws often hide beneath the rack and secure it to the wall.
To loosen them, you’ll need an Allen wrench or a flathead screwdriver.
Turn the wrench or screwdriver counterclockwise to release the screws.
Take care not to strip the screw heads, making them harder to remove.
Detaching The Brackets From The Wall
With the set screws loose, the next step is to detach the brackets that hold the towel rack to the wall.
Gently pull the rack away from the wall to reveal the mounting plate.

Some racks will slide off, while others may need a gentle wiggle to free them.
- Check for any adhesive backing that may need peeling off.
- Unscrew any visible screws on the mounting plate.
- Use a putty knife to remove any caulk or paint holding the brackets.
Once all attachments are free, carefully remove the brackets and set them aside.
Patch and paint the wall as needed to finish the removal process.
Handling Common Challenges
Removing a towel rack from the wall can be straightforward.
Yet, some encounters may present a bit of a puzzle.
From screws that won’t budge to walls that bear the brunt of the removal, each challenge requires a careful approach.
Dealing With Stubborn Screws
Stubborn screws resist normal methods.
To tackle this, try these steps:
- Apply penetrating oil to the screw. Let it sit for a few minutes.
- Use the correct screwdriver size. This will prevent stripping.
- Turn the screwdriver slowly with firm pressure.
- If the screw won’t move, gently tap the screwdriver handle with a hammer.
- For stripped screws, use a screw extractor kit.
Repairing Wall Damage Post-removal
Once the rack is off, wall repair might be next.
Here’s a simple fix:
- Clean the area with a damp cloth.
- Fill holes with spackling paste using a putty knife.
- Once dry, sand the spot until smooth.
- Apply primer, then paint to match the wall.
Remember, patience is key as rushing can cause more damage.
Prepping The Wall For A New Fixture
Once you remove your old towel rack, it’s time to make the wall look new.
You want a smooth surface for your new fixture.
Let’s get things ready for a fresh start!
Smoothing The Surface
A smooth wall is essential. Follow these simple steps:
- Take off any adhesive left behind.
- Use sandpaper to rub the wall.
- Make the area dust-free.
Check for evenness after these steps. The wall should feel flat.
Patching And Painting Tips
Sometimes, there are holes. Here is how you fix them:
- Get spackle or wall filler.
- Put it on the holes.
- Wait for it to dry.
- Sand it again.
Now, grab your paint. Use a color that matches your wall.
| Step | Tip |
|---|---|
| 1. Primer | Apply a coat. It helps the paint stick. |
| 2. Paint | Use a roller for big areas. A brush works for edges. |
Let the paint dry. Enjoy your wall’s new look!
Final Touches And Considerations
With your old towel rack neatly removed, you’re almost at the finish line.
The wall is now a blank canvas, eager for a new accessory.

It’s time to make your final touches to the bathroom and embrace the exciting task of choosing and installing a new towel rack.
Perfect alignment, sturdy installation, and an appealing aesthetic await with your nifty home improvement skills.
Choosing A New Towel Rack
Before diving into the install, let’s consider the new towel rack.
Here are key points:
- Match your bathroom’s style: Contemporary or classic, the rack should fit.
- Size matters: Measure the space to avoid a mismatch.
- Material choice: Metal or wood, pick a durable option.
- Weight capacity: Ensure it holds what you need.
Installation Tips For The New Fixture
Ready to install? Here are simple installation tips:
- Locate studs for a secure mount or get proper anchors.
- Use a level for a perfectly straight rack – no tilt here!
- Mark drill spots with a pencil precisely where you want them.
- Drill slowly; patience is a virtue in home improvement.
- Tighten screws firmly but not too tight – you don’t want stripped screws!
Now, enjoy the functional beauty of your brand-new towel rack, confidently secured to your wall for a job well done.
Frequently Asked Questions For How Do You Remove Towel Racks From The Wall
Can You Remove A Towel Rack Without Damaging The Wall?
To remove a towel rack without causing wall damage, carefully unscrew any visible hardware using the appropriate tools.
Gently pry away the rack’s base, keeping the wall’s surface intact.
Fill any residual holes with spackling paste for a smooth finish.
What Tools Are Needed To Take Off A Wall-mounted Towel Rack?
Typically, you will need a screwdriver to loosen screws, a putty knife to detach adhesive mounts, and pliers for any stubborn parts.
Optionally, spackling tools for post-removal wall repair might be necessary.
How Do You Fix The Wall After Removing A Towel Rack?
After removing the towel rack, patch any holes with spackle, let it dry, sand smoothly, and apply touch-up paint.
This process will restore the wall’s appearance to its original state.
Does Removing Towel Racks Require Professional Help?
Removing towel racks is usually a DIY task.
Follow the manufacturer’s instructions or use common hand tools for a successful removal.
However, for complex installations, consulting a professional might be beneficial.
Conclusion
Removing towel racks need not be daunting.
With the right tools and instructions, your walls can return to a blank canvas, ready for new fixtures or a fresh coat of paint.
Follow these steps, and you’ll ace this DIY task with flying colors.
Tackling home improvement projects yourself saves money and brings a sense of accomplishment.
Don’t hesitate to revisit this guide for a successful towel rack removal!

